
Pre-Cut Window Tint Installation Guide
Pre-cut window film removes the need to draw a complete window pattern from a roll. It does not remove the cleaning, positioning or shaping work. Start by choosing the right vehicle pattern in our custom pre-cut tint kit, then prepare the workspace before opening the film.
Find your vehicle guide
Start with this general preparation guide, then review the ordering and glass-layout checks for your vehicle:
- Toyota Camry installation planning
- Honda Civic installation planning
- Ford F-150 installation planning
1. Inspect before you peel
Check the order year, make, model, body style and glass layout. Lay the pieces on a clean surface with their protective liners intact. Match each piece to its intended window without creasing it. Photograph and report incorrect items, shipping damage or visible defects BEFORE liner removal, cutting, heat shrinking or installation. A nearby model year is not a substitute for a confirmed pattern.
2. Gather the tools
Have a clean spray bottle, the film-compatible application solution mixed to its own instructions, low-lint towels, a smooth rubber squeegee and an edge tool ready. Check every tool edge for grit, nicks or damage. Protect nearby trim and electronics from liquid. A clean indoor work area helps keep dust and wind away from exposed adhesive.
Our Starter Kit ($24.99) includes two squeegees, a prep pad and mounting solution. The Tool Set ($29.99) offers more edge tools and cutting accessories but no solution. Neither includes a spray bottle or heat gun. You usually choose one set based on what you already own.
3. Clean the glass and its edges
Clean the interior glass and the upper edge of roll-down windows. Check the corners and seals for contamination that could wash back under the film. Use the cleaning method allowed by the supplied film instructions and your vehicle glass. Do not scrape defroster lines, antennas or coated glass with a blade. Keep the adhesive covered until the window and tools are ready.
4. Understand shaping versus installation
Adhesive automotive tint is applied to the inside of the glass. Installers may use the outside as a shaping surface while the liner remains attached. Pre-cut does not mean pre-shrunk: curved rear glass and windshields may still require heat shaping. Do not copy heat settings from a different film. If you have not learned this process, get installation help before attempting a large curved piece.
5. Position and squeegee carefully
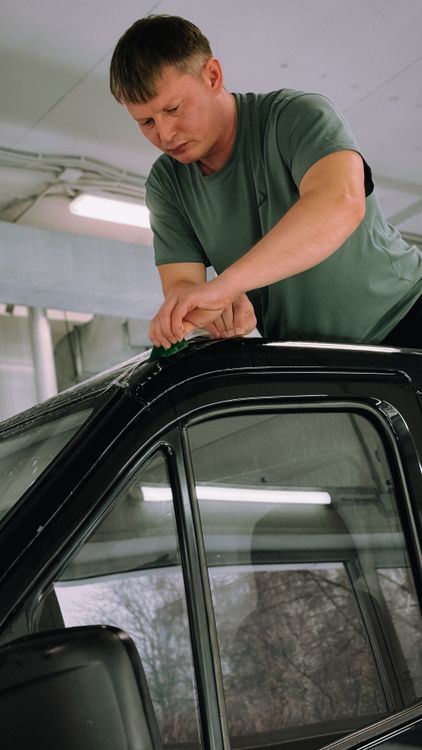
Follow the supplied instructions for liner removal and wet application. Keep fingers, clothing and dusty surfaces away from the exposed adhesive. Align the pattern before firm squeegee passes, keeping the surface lubricated as instructed. Work methodically toward an edge rather than pressing a raised fold flat. Stop if the pattern will not align; stretching, trimming or overheating it can turn a fitment question into damaged film.
Common beginner problems
- Specks under film: revisit preparation and edge cleanliness; stronger pressure will not remove solid debris.
- Raised fingers or folds: check shaping and alignment instead of forcing a crease into the film.
- Scratches: inspect the tool edge and lubrication before continuing.
- Persistent bubbles: do not assume all bubbles will cure away. Follow the film supplier advice and send clear photos if you need help.
After installation
Use the drying, window-operation and cleaning schedule supplied with your film. Weather and film construction affect curing, so a time quoted for another brand is not a guarantee for your kit. Do not pick at an edge or puncture bubbles. Keep your order details and photos available when requesting help.
Choose your vehicle and coverage
The sides-and-rear kit is $99.99; full front windshield film is an optional $59.99 add-on. Roof glass is excluded from these tint kits; installation tools are optional. Read your vehicle guide for the ordering details and check applicable tint requirements before choosing shades.
- Sides + rear: Configure your vehicle-specific tint kit.
- Front windshield: Choose the optional windshield film separately.
- Installation tools: select either kit beside Add to cart on the tint page.
Need help before installing?
Contact MotorPeak Supply with your order number, vehicle details and clear photos of the issue. For incorrect, damaged or visibly defective items, reach out before using the film. For an unused return, contact us first for the correct return address and return instructions.
Further learning
Read Gila’s automotive installation FAQ and manufacturer installation videos for background. Those resources describe Gila products, not a MotorPeak demonstration; their product-specific instructions do not replace the directions with your film. This beginner discussion illustrates why a pre-cut pattern still takes installation practice.
Prepared by MotorPeak Supply from supplier instructions and published installation resources; this is a preparation guide, not a claim of hands-on testing of every vehicle.