
Tesla Model X Window Tint Installation Guide
The Model X needs a careful plan for its moving front glass and falcon-wing doors. Pre-cut film reduces pattern cutting, but it does not remove the need for clean preparation, shaping and controlled installation.
Our current kit: 2016–2024 Tesla Model X SUV · sides + rear · $79.99 before tax. Roof and overhead falcon-wing glass, front windshield, tools and installation service are excluded. Exact glass-pattern availability is checked before fulfillment.
Configure your Model X kit · Watch the installation overview
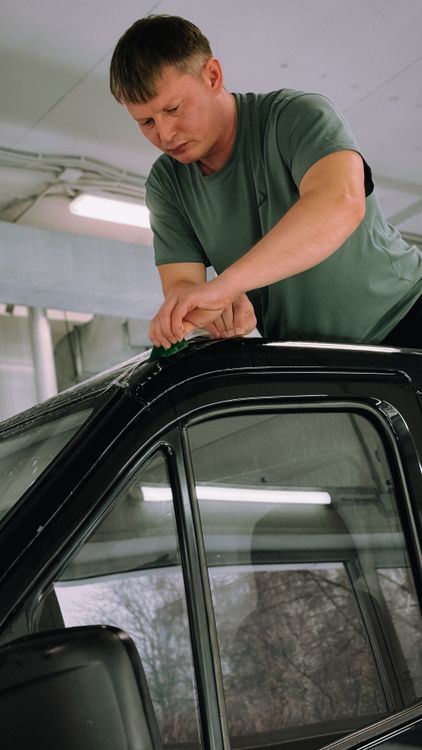
Plan the windows separately
Confirm the exact year, trim and any replacement glass before peeling a liner. A listing spanning several years does not mean one physical pattern fits every Model X. Identify front side, rear side, quarter and rear-hatch pieces on their liners; overhead glass is a separate area and is not supplied.
Existing dark glass affects the final appearance. The same film percentage on front and rear windows may not produce a visual match. If matching is important, have the existing glass measured and assess visibility at night before choosing shades.
What owners have experienced
In this Model X owner discussion, some owners reported successful front-window installations, while others described film needing to be redone after the glass moved when opening the door. The useful takeaway is to choose an installer familiar with the Model X and plan curing around normal window movement. These are individual reports about other films and shops, not MotorPeak customer reviews or guaranteed outcomes. We do not recommend copying forum suggestions to defeat latches or remove powered-door components.
Preparation and installation sequence
- Check normal operation. Confirm doors and windows work normally before installation. Use the Tesla window instructions and your vehicle-specific manual. Never force a raised window into its seal or bypass door safety features.
- Prepare a clean space. Work on cool glass indoors or in a sheltered area. Have clean, smooth-edged squeegees, low-lint towels and the application solution specified for the supplied film. Protect trim, switches and electrical openings from liquid.
- Match each piece with its liner intact. Check orientation and the window outline. Photograph any mismatch and contact us before cutting or heating it. Pre-cut does not mean pre-shrunk.
- Clean edges and seals thoroughly. Use compatible, non-abrasive materials. Dirt transferred from the top edge or seal can remain trapped under the film.
- Position one side-window piece at a time. Follow the supplied film instructions for wetting the inside glass and adhesive, alignment and squeegee pressure. Work in overlapping passes from the center toward the edges, absorbing expelled solution. Do not force a crease flat.
- Treat rear and hatch glass as separate jobs. Confirm the piece layout and access before beginning. Do not scrape or cut across printed defroster lines. If the curvature or access is beyond your experience, have a qualified installer finish the job rather than modifying the pattern to force a fit.
For the basic wet-application workflow, use our general pre-cut tint installation guide and tutorial. Follow your supplied film instructions for heat shaping and curing.
Watch: Model X professional installation overview
This video from Jay’s Detail Studio shows a Model X receiving SunTek window tint and paint protection film. It is a professional process overview, not a complete DIY lesson and not our nano-carbon kit. PPF, ceramic film and roof/windshield work shown are not included in our sides-and-rear offer.
Video by Jay’s Detail Studio · Watch on YouTube · Installer’s project notes.
After installation
Follow the supplied film’s curing instructions and avoid unnecessary full window cycles while it cures. Normal door operation still needs to work. Do not puncture bubbles or repeatedly lift edges; moisture haze, trapped dirt and creases are different issues. Send photos if an edge catches or starts lifting. Choose film shades that meet applicable requirements and preserve comfortable visibility.
Build your Model X kit · Browse supported vehicles · Get fitment help