
Toyota RAV4 Window Tint Installation Guide
Installing pre-cut tint on your Toyota RAV4 (2019–2025)? Start with the right glass pattern, a clean work area and a plan for the windows that need extra care. This guide pairs a preparation checklist with an independent installation video.
Check Toyota RAV4 fitment · Shop the sides + rear tint kit
Prepare · Vehicle notes · Watch the video · Finish and get help
Before you remove a liner
- Confirm the year, body style and window configuration on your order. Identify each piece with its liner intact; do not peel it simply to test fit.
- Inspect for incorrect, damaged or defective pieces. Contact us before liner removal, cutting, heat shrinking or installation if something is wrong.
- Work out of wind and dust. Have film-safe glass cleaner, lint-free towels, an appropriate application solution and spray bottle, plus suitable squeegees ready. Follow the supplied film instructions for solution and heat use.
- Optional Starter Kit and Tool Set contents differ. Neither includes a spray bottle or heat gun; the Tool Set does not include mounting solution.
Toyota RAV4: plan these windows first
- Small fixed panes: lay out the pieces for each side before removing liners. Check the small panes as carefully as the large roll-down windows.
- Rubber surrounds: the video demonstrates an experienced installer working around tight seals. Do not pry with a sharp tool or shorten a pre-cut pattern to make it easier to insert; ask for help if access is tight.
- Rear hatch glass: inspect the shape and protect defroster lines. A hatch window is a different installation task from the fixed door pane in the video.
- Existing privacy glass: describe it when ordering; the final appearance depends on both the glass and added film.
Watch the installation example
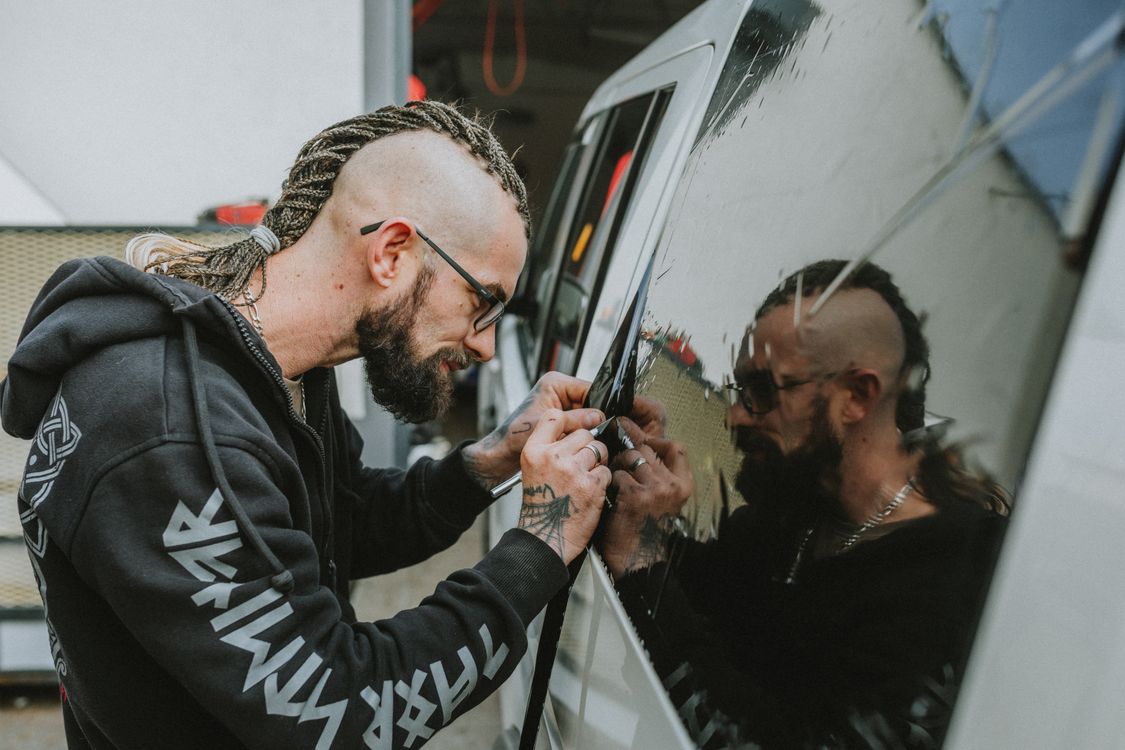
Video by Ace Window Tinting / Rodney McClure. This is a 2021 RAV4 fixed door-glass demonstration, not a complete vehicle installation. It shows preparation around the rubber surround and careful film placement on a small fixed pane. Door and rear-glass work still require the general installation steps.
Watch directly on YouTube if the player is unavailable. This independent creator is not affiliated with MotorPeak Supply.
Application sequence
- Read the general pre-cut installation guide and supplied film instructions before starting. Protect interior surfaces and clean the glass and accessible edges thoroughly.
- Check the piece orientation and any required forming step while the liner is still on. Pre-cut does not mean every curved pane can be installed without shaping. If unsure, use an experienced installer.
- When ready, expose the adhesive without contaminating it, apply the recommended solution and position the film on the inside of the intended glass. Align carefully before firm squeegee passes.
- Work solution out with the appropriate tool, keeping the film in position. Avoid hard creases, sharp tools on protected glass features and unnecessary heat. Inspect the perimeter before moving on.
After installation and support
Follow the supplied curing and window-use instructions; weather and film affect drying. Do not roll windows down or clean fresh film before the recommended period. Do not puncture bubbles or peel edges to investigate a problem—send us photos first.
Kit coverage: the standard product is sides + rear glass for the confirmed vehicle configuration. Full front windshield film is a separate optional product; roof glass is excluded. Check local tint requirements for each window before choosing a shade.
We are here to help. Contact MotorPeak Supply with your order number, vehicle details and clear photos. For unused items, contact us for return instructions and the correct return address; see our return policy before sending anything.
Ready to choose? Review Toyota RAV4 fitment or choose your tint kit.