
Tesla Model Y Window Tint Installation Guide
On the Model Y, picking the rear shade deserves as much attention as installing the film. Existing dark glass affects the final result, so matching the same film percentage front and rear may not give you a matching appearance.
Coverage: 2020–2024 Tesla Model Y · sides + rear · $79.99 before tax. Roof glass, front windshield film, tools and installation service are excluded. Pattern availability is checked before fulfillment.
Configure your Model Y kit · Watch the tutorial
Check the glass you already have
Inspect the rear doors, small fixed panes and hatch before choosing a shade. Have the existing glass measured if you need a predictable final VLT. Film VLT describes the film; it is not a promise of the finished glass-and-film reading. For illustration only, 20% glass with 35% film transmits roughly 7% of visible light. Your actual glass must be measured.
This guide supports our 2020–2024 Model Y offer. It does not establish fitment for a Juniper refresh. Keep the roof separate: roof film and front windshield film are not included in this Tesla kit.
Prepare before peeling the liner
- Inspect the pieces for shipping damage and confirm the vehicle and shades on your order. Contact us about an apparent mismatch before cutting, heating or installing.
- Work indoors or in a sheltered, clean space on cool glass. Have low-lint towels, a clean sprayer, film-compatible application solution and clean, smooth-edged squeegees ready.
- Protect door switches, upholstery and trim with absorbent covers. Keep application fluid controlled; do not flood door panels or electrical openings.
- Check tint requirements where the vehicle is used and choose visibility you are comfortable with at night. Film percentages are not a legal-compliance guarantee.
Installation sequence
- Check window operation first. Tesla’s frameless glass moves as doors open and close. Do not defeat the latch or force a fully raised window against the trim. If the movement is abnormal, resolve it before fitting film.
- Clean the glass and edges. Remove contamination with compatible, non-abrasive materials. Pay particular attention to the top edge and seals so dirt does not transfer onto the adhesive.
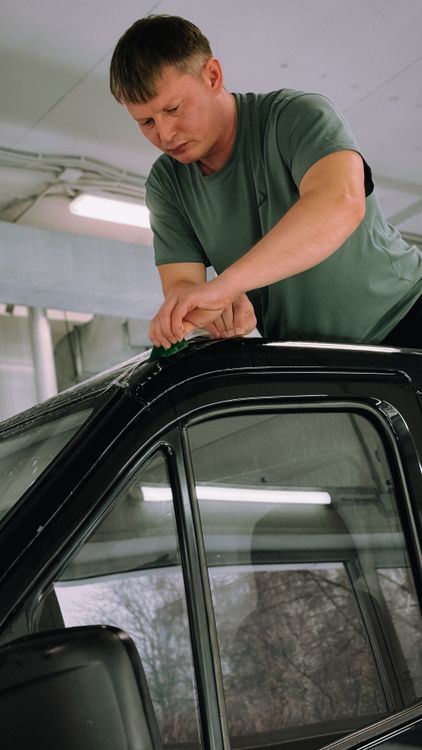
- Identify and position one side piece. Confirm the window and orientation with the liner intact. Following the supplied film directions, wet the interior glass and adhesive as the liner is removed, then align the film without dragging it across dirty trim.
- Squeegee deliberately. Work in controlled, overlapping passes from the center toward the edges. Keep the working face lubricated as instructed and absorb expelled water. Do not crush a crease or keep lifting a contaminated edge.
- Plan the hatch separately. With the vehicle stationary and hatch securely open, check access, protect nearby trim and keep moisture away from electrical components. Match the rear piece while its liner is intact. Curvature may require shaping; do not treat a front-door tutorial as a hatch-glass template.
- Inspect before moving on. Check the top edge, corners and remaining moisture. Stop if the piece does not align, a fold remains or adhesive has picked up debris. Photograph the issue and ask for help rather than trimming the pattern to force a fit.
Pre-cut means shaped to a pattern; it does not guarantee a shrink-free installation. Follow the instructions supplied with your film for solution, shaping and curing. The general pre-cut guide covers the basic workflow.
What Model Y owners learned
One owner in this Reddit discussion regretted adding 20% film to the rear because the view became darker than expected. That report concerns a different ceramic film, but it highlights why you should account for the existing glass before ordering.
A separate first-time DIY owner reported completing only the front pair in about 90 minutes with another brand’s pre-cut kit. That is one person’s result, not a full-car time estimate. Leave room for cleaning, practice and the more awkward hatch glass.
Watch: We Found The Easiest Way To Install Tint On Your Model Y At Home
Independent DIY Wrap Club demonstration using its ceramic film and tools. It illustrates handling and preparation; it is not a MotorPeak kit demonstration or proof that every year uses the same pattern. Our product is nano-carbon dyed film.
Video by DIY Wrap Club. Watch directly on YouTube.
After installation
Avoid unnecessary window cycling and cleaning until the period specified by your film supplier has passed. Normal door indexing still needs to work. Drying depends on conditions; a little moisture haze is different from a crease, trapped dirt or an edge that keeps lifting. Do not puncture bubbles. Contact us if you are unsure, and have a qualified installer handle difficult rear-glass work.
References and next steps
Owner experiences above are anecdotal and concern other products. For vehicle care, consult the Tesla owner’s manual for your exact vehicle. Tesla cautions against abrasive glass cleaning and scraping; see its Model S owner’s guide. General film preparation and curing concepts: Gila automotive FAQ; its product-specific timings do not replace your supplied film instructions.
Build your Tesla Model Y kit · Browse vehicle coverage · Ask about fitment or installation