
Installing electric smart privacy film involves glass preparation, shaping and electrical work. Use the supplied instructions for your exact kit and have a qualified installer assess the glass, controller placement, wiring and window movement before cutting.
This guide helps you plan the job and understand the sequence. The car-window video below shows preparation and film application on another system. Follow your own kit instructions for connection and finishing details.
Before you start: check the kit and the glass
- Lay out four film sheets, four controller modules, one remote and the connecting wires. Inspect the kit before removing liners or trimming.
- Use the measuring guide and confirm the final outline and electrical edge.
- Ask the installer to assess existing film, glass curvature, seals and any moving-window mechanism.
- Plan a clean work area, approved cleaning/application supplies and tools specified in the instructions.
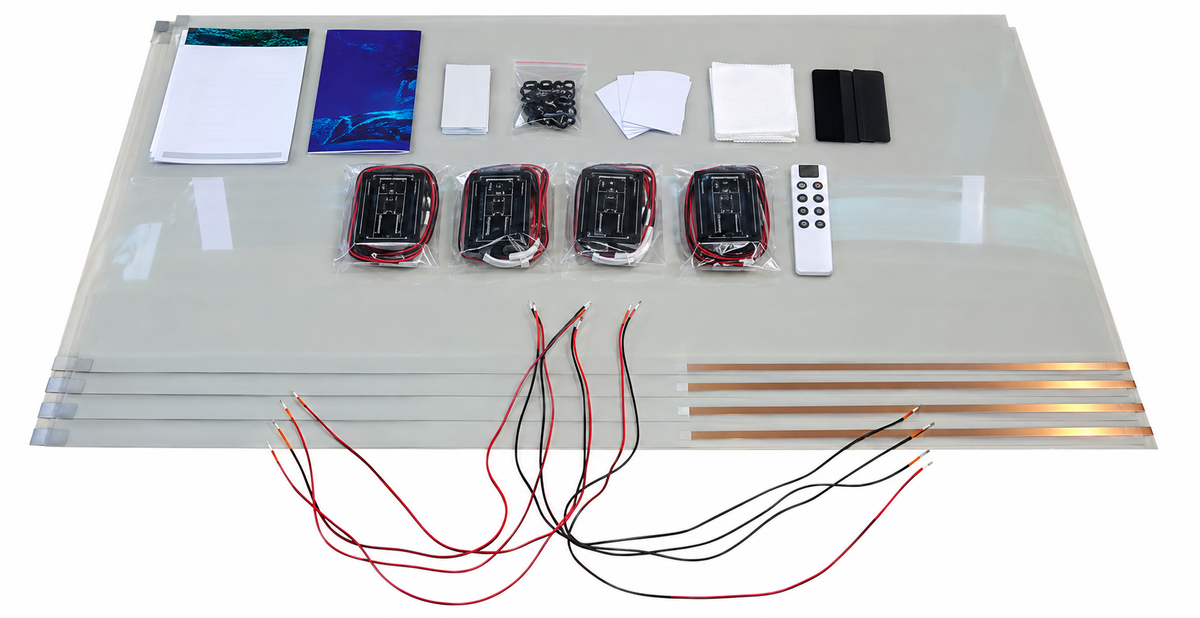
Plan the installation in six stages
- Test using the supplied system. Have the installer follow the kit's initial test sequence before irreversible work. Keep each film sheet paired with the intended controller and connectors.
- Prepare the glass. Remove contaminants and address existing film as directed. Use the cleaning and application method specified for this smart film; ordinary tint procedures do not automatically apply.
- Mark and trim the shape. Preserve the connection area and the edge clearances specified in the supplied instructions. Confirm the outline before cutting.
- Apply the film. Follow the liner-removal, positioning and smoothing sequence for the kit. Protect exposed connections throughout the work.
- Connect and protect. Route wires and secure controllers so they are clear of moving parts and interference with vehicle systems. Use only the prescribed edge-protection method and compatible materials.
- Inspect and test again. Check switching in both states, edge finish, cable clearance and any window movement before putting the installation into use.
Do not connect film directly to the battery
The vehicle's 12 V input goes through the supplied controller system. The film itself must be connected as directed by the kit instructions. Cable colors, output voltage and connector arrangements can vary between systems, so an unrelated video's wiring is not a substitute for those instructions.
Can smart film go on a moving car window?
A moving window needs room for wiring and must pass the seals without damaging film or connections. Have an installer check the full travel, seal pressure and cable path for your exact door. Do not assume a rectangular size match establishes moving-window compatibility.
Keep required driving visibility unobstructed and use the frosted privacy state only when safely parked. Check applicable glazing and tint requirements for the window location before installation.
For buying decisions, compare the three film colors and review kit price versus installation cost.
Watch car-glass preparation and film application
Installation example using a different system. Follow the instructions supplied with your kit for trimming, electrical connections and edge protection.